DIY Art for the Kitchen

I helped a client with the space above her kitchen cabinets over the weekend. This is a tricky space, and brings visions of dusty fake ivy plants to many of us I am sure. We wanted to avoid that.

Here is the end result.
melissa 017

This particular kitchen has quite a bit of height above the cabinets so I wanted to put some artwork up there. I wanted something graphic and modern that would bring in some color; so I came up with this "EAT" sign. This is a quick and cheap project and I loved how it turned out.

Start with a piece of plywood. You can pick it up at Home Depot or Lowes, and they'll cut it to any size you want. This one is about 20x35 and I had it left over from another project.
melissa 001

You'll also need to print out whatever image you want to transfer onto the plywood. I typed "EAT" in a Word document in font size 600; each letter took up a full page. The font is "Fiesta" and you can download it free here. I also printed out the fork and spoon image which you can download here.

Next prime your plywood with white paint primer using a roller. This step isn't completely necessary, but I did it to make sure my green paint would be saturated enough.
melissa 003

Confession: I was going to have a nice styled picture for each of the remaining steps like a good blogger - but I ended up frantically finishing it at about 11:00 at night with no time or patience for pictures. This is how I do most of my projects. Whoops.

After your primer dries, apply two coates with a roller of your desired color. I used Olive Marinade by Valspar.

Allow paint to dry. Then, using graphite paper - trace your printed image onto the wood with a pencil. Lay the graphite paper, graphite side down, on the wood. Line up your printed images and place over the graphite paper. Trace the outline of each letter, and the fork and spoon, with a pencil.
graphite

Finally, fill in your traced outline with a paint pen. This is the easiest part. I'm not too steady with a paint brush, and so paint pens to the rescue. I picked mine up at Michael's.
sharpie paint

And you're done! Really cheap, pretty easy.
melissa 020

Pillow Combo

So excited for this pillow combo I put together for our client Melissa's room. The green pillow cover is from Ikea (only $6.00!). The gray pillow will be made with Chipper fabric which seems to be popping up everywhere lately. I found it a few weeks ago at Home Fabrics (if you're local it's on Stapley and Baseline) for only $6 bucks a yard. You can also get it online here for $9.99 a yard. The blue pillow is from Cost Plus World Market ($19.99).

Melissa found the green damask fabric that we're going to use for her window seat. This room is almost done and it's looking so great! Can't wait to show it to you.

Melissa - Pillow Option 2

Here are some examples of the chipper fabric in action.

5446373669_1504991105_z
Caitlin Wilson Design

yellow-gray-nursery-14

yellow-gray-nursery-16
Domestic Adventure

chipperslipcover
Holly Mathis Interiors

Guest Room Makeover in One Day

A couple weekends ago my mom decided she wanted to turn my brother's old bedroom into a guest room. So I went over to her house, we hit up some shops, and decided to do it all in one day. We're impatient like that.

Here's the scary boy-dungeon before picture.
001

After.
guest2

We loved the bold graphic floral print of this cute pillow we found at TJ Maxx - we pulled all the colors for the room from this.
guest4

We brought this table in from another room and added some new accessories mixed with some things my mom already had.
guest5

And voila! A one day makeover.

New at Cost Plus

I went to Cost Plus World Market the other day and totally died when I saw their new Aiden furniture collection. So industrial chic and different than what they usually carry. Love, love, love.

aiden

And the coffee table looks almost exactly like the one in Emerson's home that I just posted!
emerson 5

Bathroom Makeover

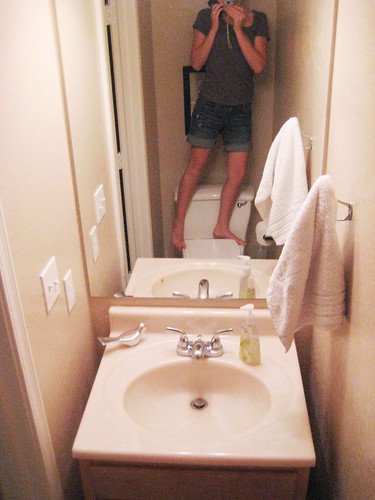
This is my little downstairs powder room/half-bath. And those are my legs, standing on a toilet, because rooms the size of a closet are hard to take pictures of.

9-15 005

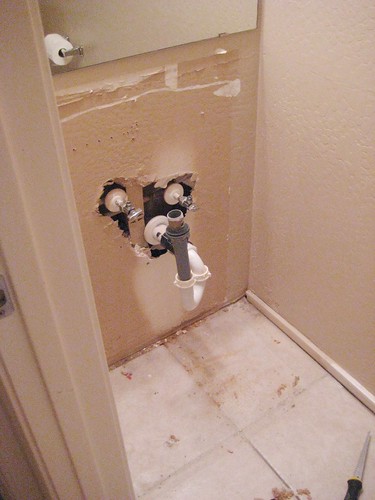
Last year, while my husband was away camping I got bored. When I'm bored I do weird things like rip out this bathroom vanity by myself, and drag it into the backyard. Only to discover a big ugly hole behind the vanity.

9-15 011

Well it's a few months later and we finally have a functioning bathroom again. Here are my tips for you.

  • Do not think you can remodel a bathroom in a week, no matter how small it is.
  • Do not think you and your husband can put in a pedestal sink, because you can't. You will discover this after watching YouTube videos of pedestal sink installations, receive your reality check, and then you will call a plumber.
  • Do not paint your bathroom the night before the plumber comes with a color that you chose really fast and in a panic, because you won't like it. Then you will have to re-paint AFTER the sink is in. And that's hella annoying.
  • Do not think, "Well I've never done it before, but I'm sure caulking baseboards is really easy and no big deal. Doo da doo." Because you'll be wrong.

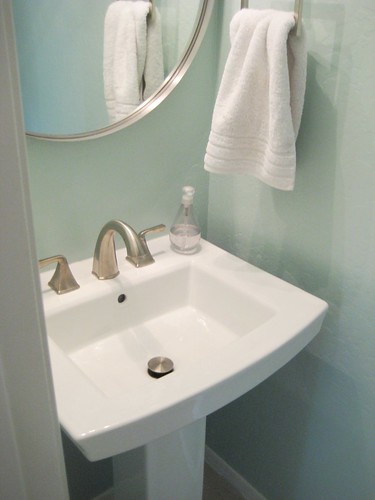
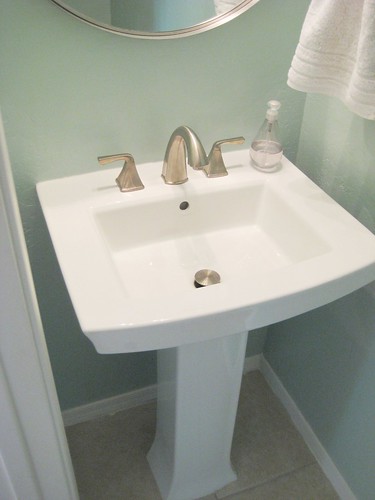
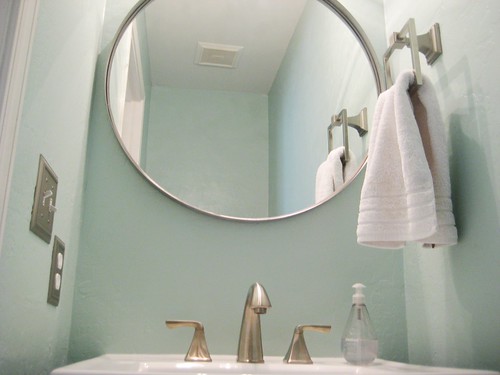
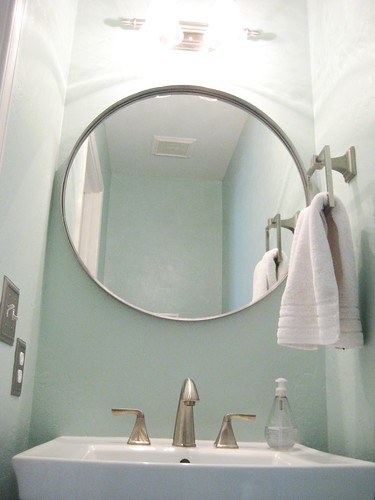
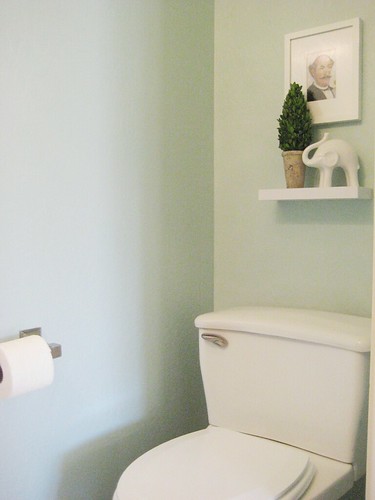
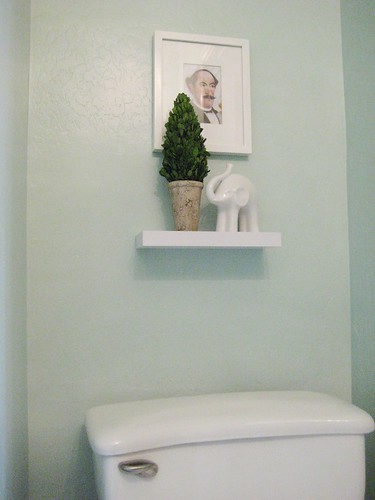
And here she be: much prettier, but still hard to take pictures of.

bathroom 009

bathroom 010

bathroom 008

bathroom 007

bathroom 005

bathroom 004

bathroom 004
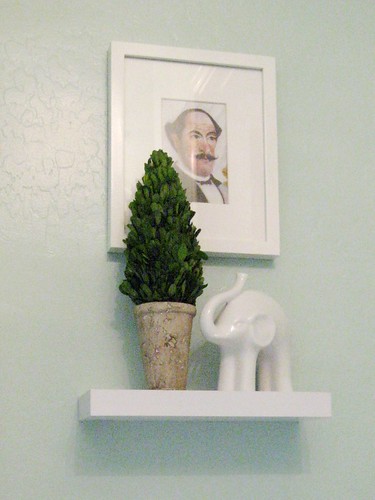
I framed this little Henri Rousseau painting from an old art calendar I had. Zach thinks he's creepy, I think he's very dapper.